Feeds:
Posts
Comments

Archive for the ‘Bugs’ Category

Who could resist

What? That’s not a fawn, you say.

True.

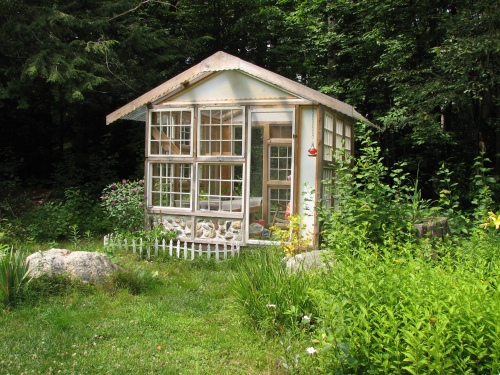
Unfortunately I did not have my camera with me when I encountered the fawn yesterday. So instead of posting relevant photos while I tell the tale, I’m posting photos I’ve been taking since my last posting. We all like a photo or two, I know.

Handsome felow

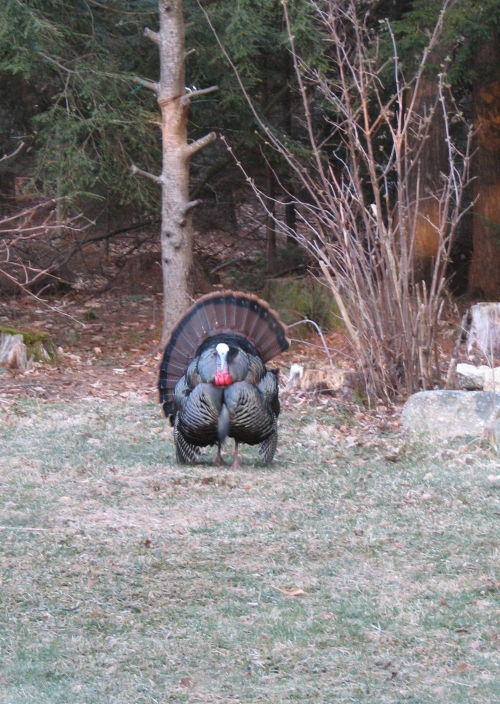
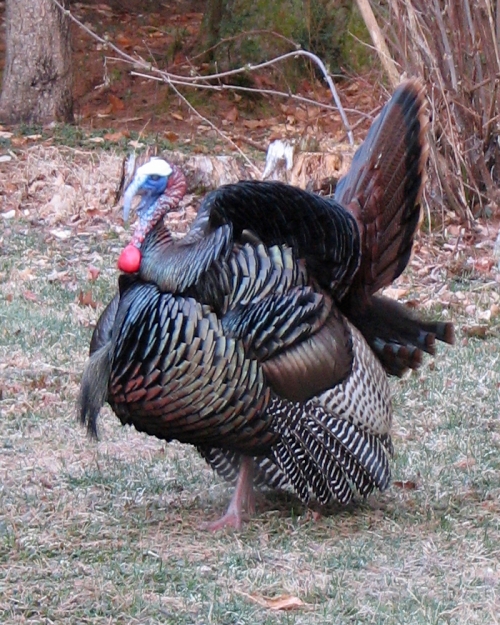
This fellow was around here for weeks. The females seemed unimpressed, but I bet they are busy sitting on eggs right now.

The girls are not frequent visitor just now. At least not many of them. Today one female arrived at the feeder with three males. The males kept shooing her away, so she, smart turkey, leapt up onto the feeder itself and helped herself from there.

clever turkey

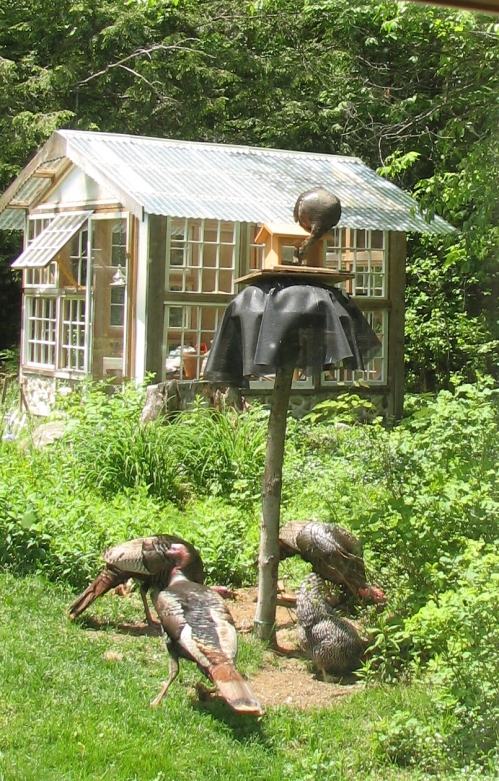
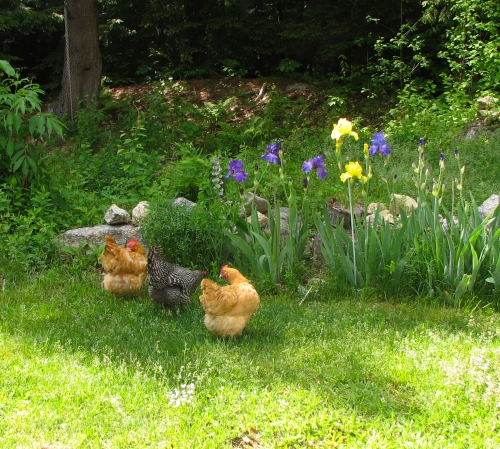
Those are teen-aged guys (I think). Except for the striped bird – that’s one of my hens, chowing down with the turkeys.

So…yesterday I rounded the corner of my house and came upon a beautiful fawn at the end of the drive. She was eating the hostas which I have not yet covered. I immediately froze. She seemed not to be worried about me. She looked up, and then went back to ripping leaves off the plant. Okay, I muttered, I guess you’re going to eat my plants because I’m not going to shoo you off.

The Girls

Then Bo, my little, deaf, poodle, wandered past me and into the garage, He was hoping I had not cleared away the old cat food he’d found days earlier in a garbage bag that was destined for the dump. When he realized it was gone, he turned and saw the fawn.

Perrenial beauty

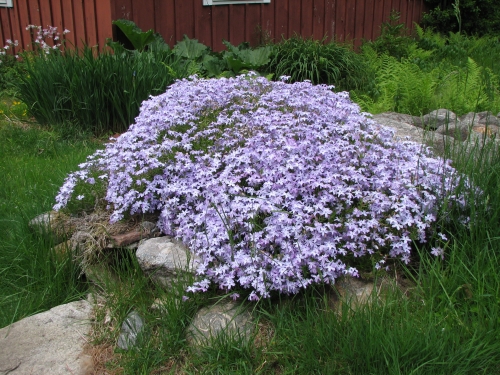
I was standing right on the other side of these flowers when I froze.

The Fawn became quite excited. Her ears perked up, her tail swished back and forth and around in half circles. Slowly she came toward us.

Heirloom Iris

Bo stood watching. Then he looked over at me. I don’t know what he thought since I never stand still like that.

Suddenly the fawn started stamping her feet. Not pawing the ground the way a horse does, but pouncing on her front feet the way a dog does to invite play.

The Wanderer

The Wanderer

Unfortunately, Bo didn’t pick up on the message. He’s old, and deaf, and not much into play.

Iris Beauties

The fawn wouldn’t give up. By now she was up nearly at the garage, and right in front of me, only ten feet away.

Lupin

She circled the drive, and pranced her feet, then then snorted at Bo. I wanted to go and dance with her. But I didn’t dare move.

Sweet Woodland Rhododendron

This went on for fifteen minutes. My legs were going numb.

IMG_5839

The fawn gave up on Bo and went back down the drive and continued snacking on the hosta.

Bridal V

I cut my bridal veil down to the ground a few years ago – it was in such a sorry state. But it’s coming back.

Sadly, Bo wandered back to the cat door and disappeared inside. I stayed and watched the fawn until she too gave up and headed off through the woods.

Spider Hiding

This yellow spider was on the front of a the blossom when I arrived. He slowly crawled around to the back to hide.

Not a very exciting story to tell, but believe me, it was quite amazing to stand there and watch.

Read Full Post »

I suppose it’s a bit of a cheat to post this as it is not from this year, or even a winter project. I had intended this to be a day to day posting similar to my building the chicken coop. The postings never happened, but I did take the photos. In the end, the greenhouse, (solarium – as my neighbors call it), was finished enough for use last summer without a single posting.

Now as I sit here mid-winter, without much heading outside, I think, why not post the greenhouse photos?

I got the idea to build this greenhouse/solarium from photos I saw online of many charming structures built from old windows. Since I had held onto the windows I had replaced on the house a number of years ago, I had many to start with. Others, with synchronicity, I quickly accumulated from freebies left at the side of the roads in the area.

I still haven’t finished all the window trims, or painted anything yet. But last spring I started my vegetables in the greenhouse and they did very well. I have a large wooden rocking chair inside which makes it a fun bug-free place to sit in the summer.

Here’s a photo I took last summer of the nearly finished, but in use, product. (It is level, by the way, it just doesn’t appear so in this photo.)

solarium near completion - IMG_4267

If you want to see how it developed, read on.

I picked a spot that received the most sun, and spent several weeks transplanting all the vinca that was growing there, leveling the ground, and moving a large boulder that was in the way.

IMG_2925

This was one heavy boulder. After struggling to lever it out of the ground, I decided to dig the hole deep enough to get it below ground where it would not be a bother.

IMG_2936

Boulder buried, the next step was to level the ground and lay the foundation blocks. Then I built the frame, having carefully designed it to accommodate all the windows I had.

IMG_2972

I assure you it really is level – clearly I need a camera with a level on it.

IMG_3020

I started adding windows. They are held in place by wooden 1 x 1 slats on all four sides, inside and out. The two top windows in the front are hinged at the top to open out for ventilation.

IMG_3022

On this side, at the back I built a screen to fill the long rectangular space. This I then shuttered it on the outside. At the back I did something similar with the two smaller rectangles at the top.

IMG_3035

When most of the windows were in, I began to put on the roof while continuing with the  windows.

Solarium in progress

The roof is clear fiberglass. This is the only photograph I took of the roof in progress.  It was time consuming, but not difficult. It is anchored to all the studs so that it won’t blow away.

IMG_3401

While I was working on the roof, grasshoppers for some reason were attracted. I spent a lot of time following this critter around trying to get a decent shot. Isn’t she lovely? I love these creatures. Their bodies are so amazing. How do I know this is a she? See next photo.

I felt a bit bad about taking this next one, surely they wanted their privacy! But I couldn’t resist.

IMG_3642 cropped

All this greenery was growing inside the greenhouse as I put it together. The last step was to pull all the weeds and lay down flagstone which I had in abundance having been left here by the former owners. You can see here that the wood I used was rough-cut.

Then I started to think about what I’d do with the rectangular spaces at the bottom.

IMG_3424

Though I’d never done it before, I thought I’d try filling the spaces with stone and cement. First I built a frame, gathered stones from around the yard and laid them out in a nice order. Then I lined the frame with plastic, poured in cement, and then pushed in the stones.

IMG_3428

I let the cement harden for 24 hours. Then I lugged the frame over the the solarium, pushed out the cement and stone slab, and cemented it into place.

IMG_3433

Here’s one cemented in, and you can just see the one at the right sitting in place ready to be cemented in.

stone work coming along

Here most of the stone work is done, the roof is completed, and all the other non-window areas are either screened in or filled in with plywood. Here you can see roof trim which I cut to match the scallops of the roof.

In this next one,  you can see the door which is the insert from a screened/storm door that was on the house when I bought it. The frame rotted, but I kept the inserts.

Solarium and Chessie

Here’s a view of the side with the shuttered screen. The shutters are not hinged yet in the photo, but will eventually be hinged. I did discover a design flaw. The roof overhang does not allow the shutters to open. So my plan is to cut the top of the shutters and fix them in place permanently, and hinge the lower sections. This past summer, I simply removed the temporary wood slat that holds them in place, and removed the shutters completely.

That’s my cat Chessie making her way to the greenhouse.

I still have some window framing to do. I need to attach the trim properly (It’s just tacked on), and paint. I’m going to make milk paint.

That’s about it! If you have questions, please don’t hesitate to ask.

Read Full Post »